Creating events
You are just a few thoughtful steps away from launching an event your community will love. We will walk through the settings together so you feel confident at every stage.
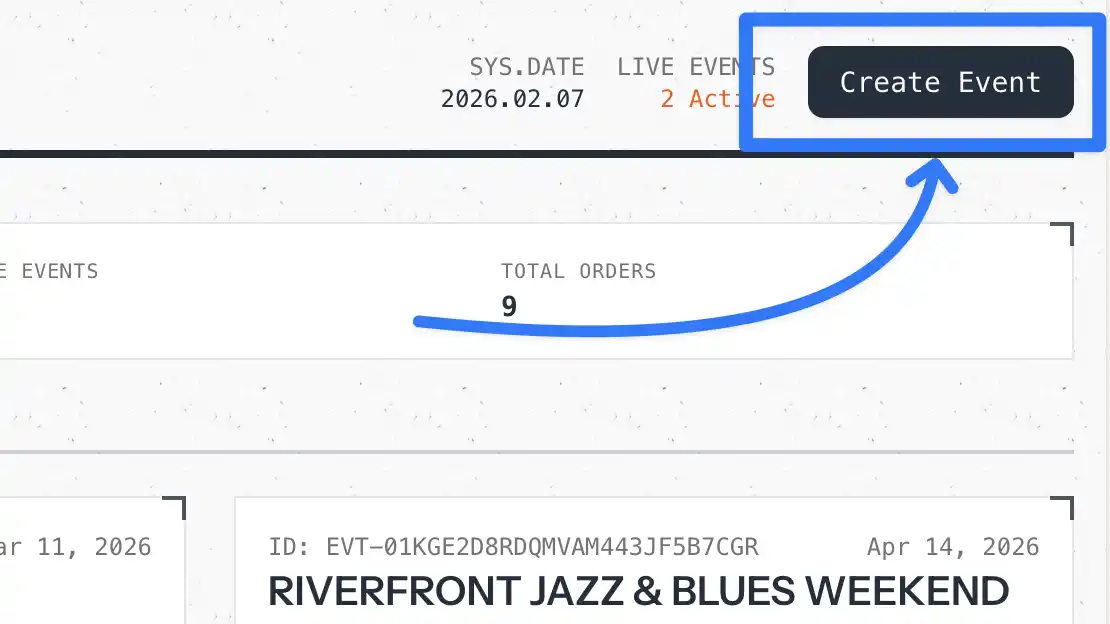
Getting started
Head to Admin → Events and select Create event. If it is your first event, do not worry — you can always edit every field later.
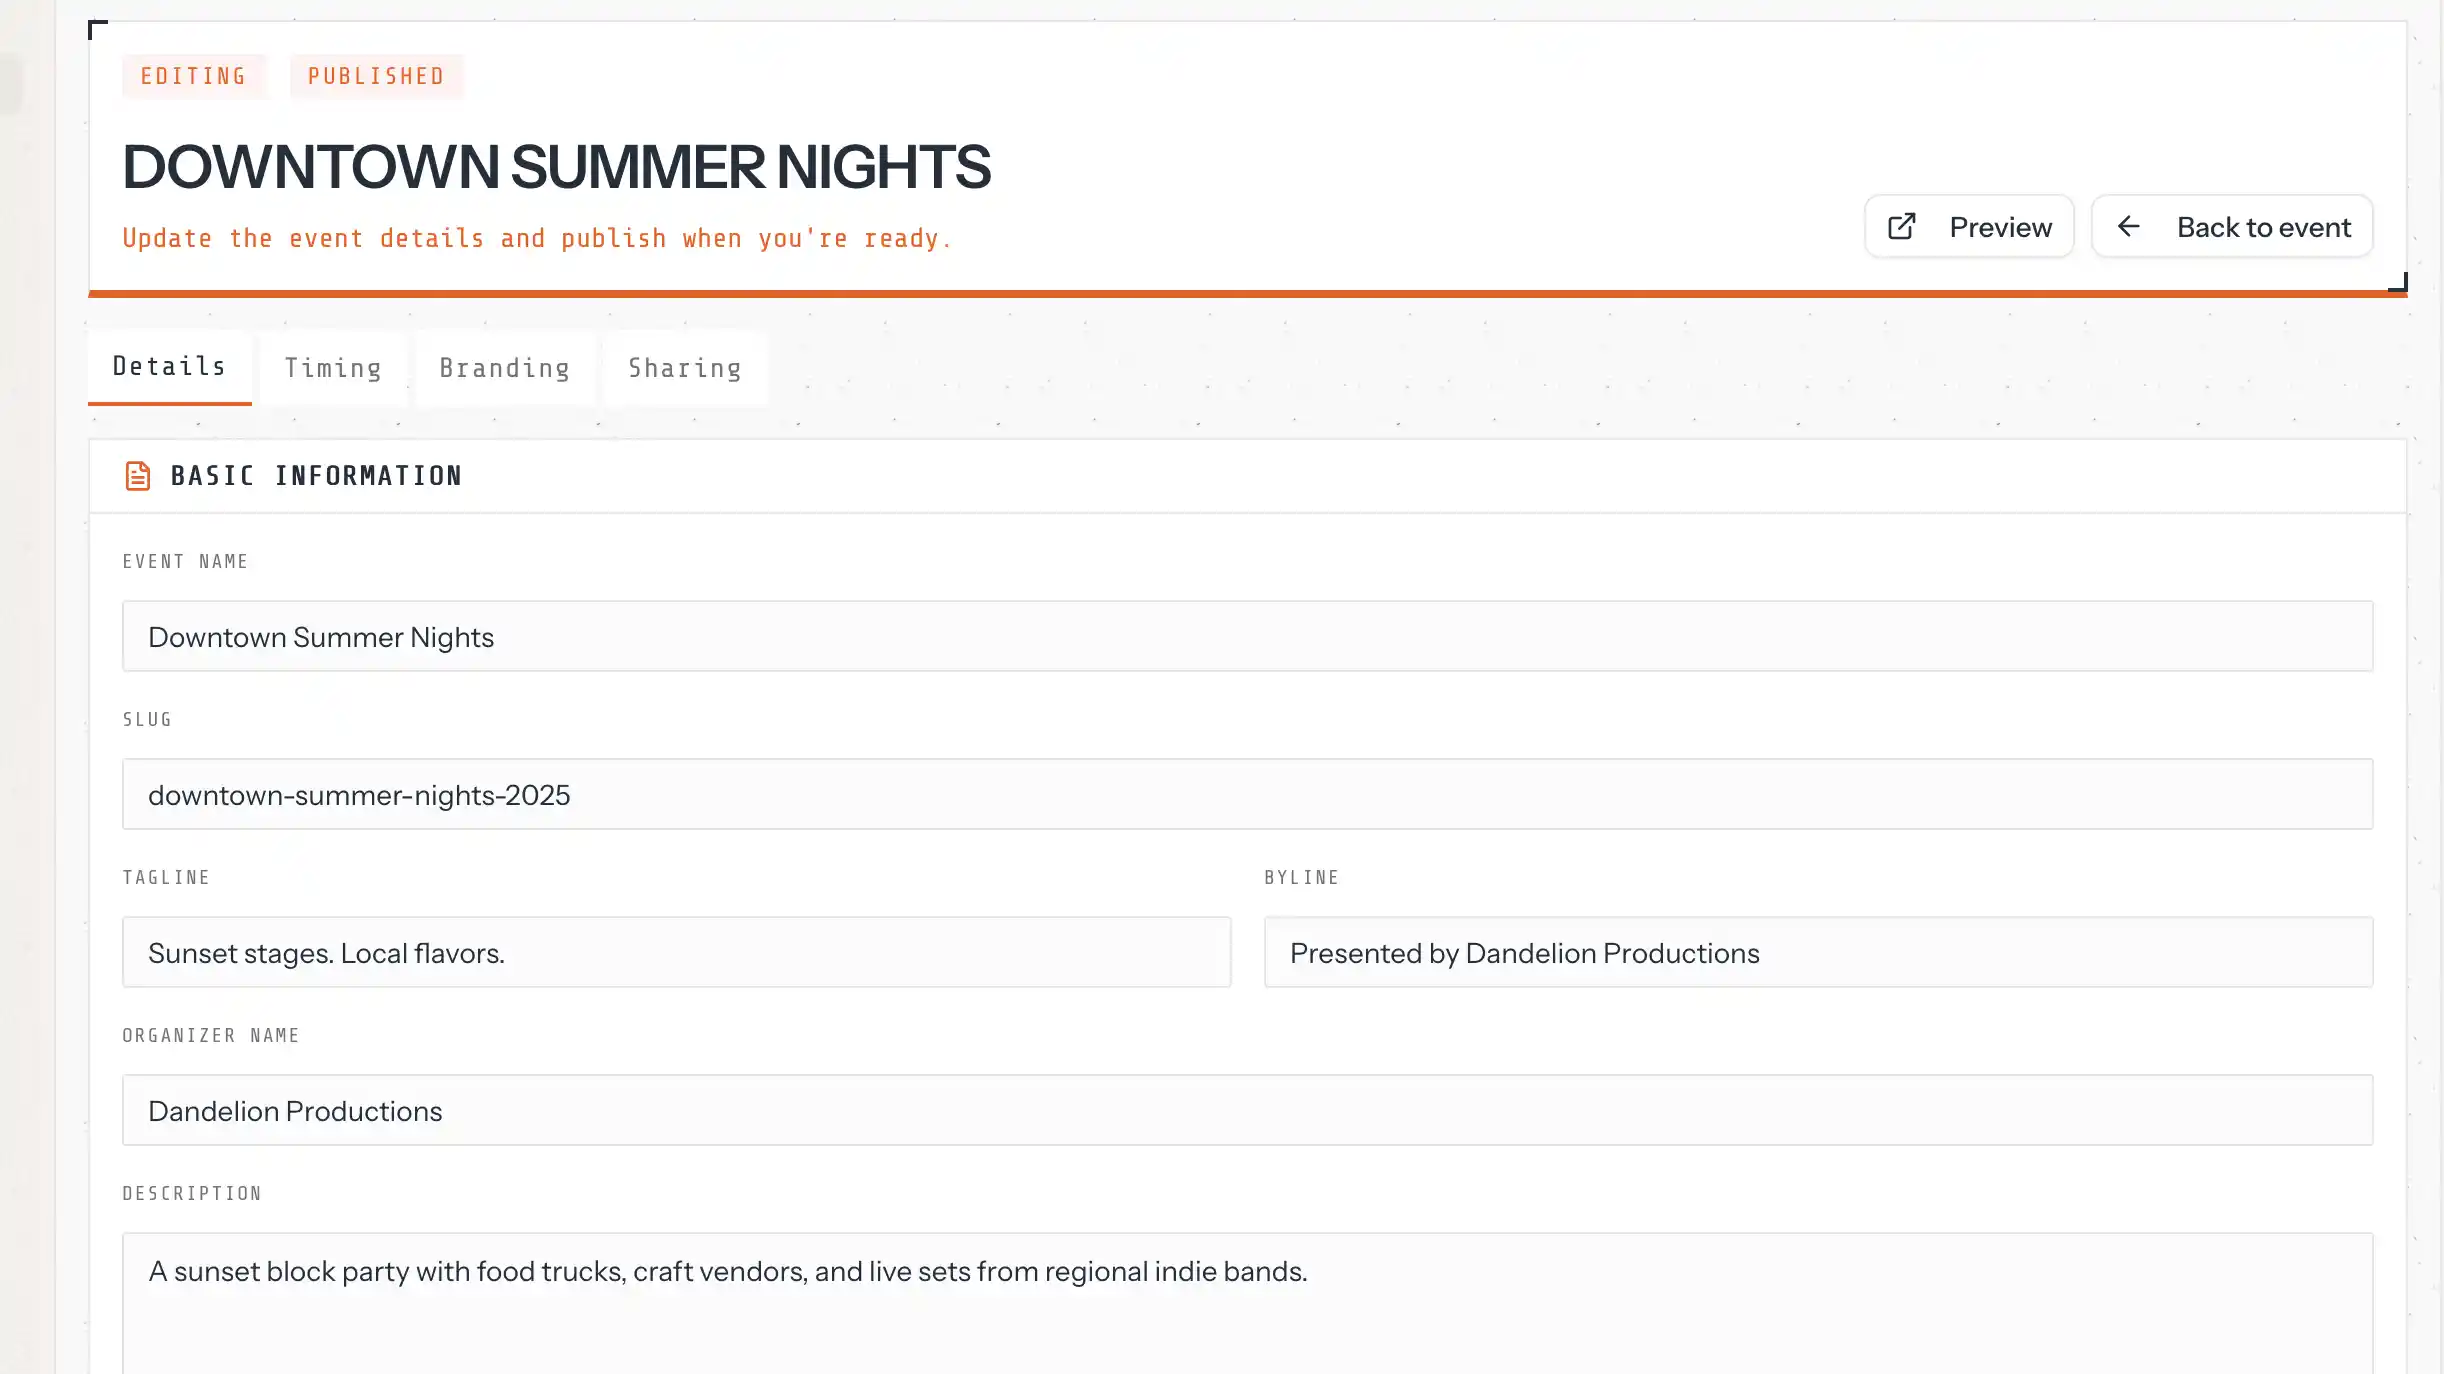
Event details tab
Add the event name, slug, tagline, and byline first. Then fill in the organizer name, a helpful description, plus the location, full address, and map link so attendees can plan ahead.
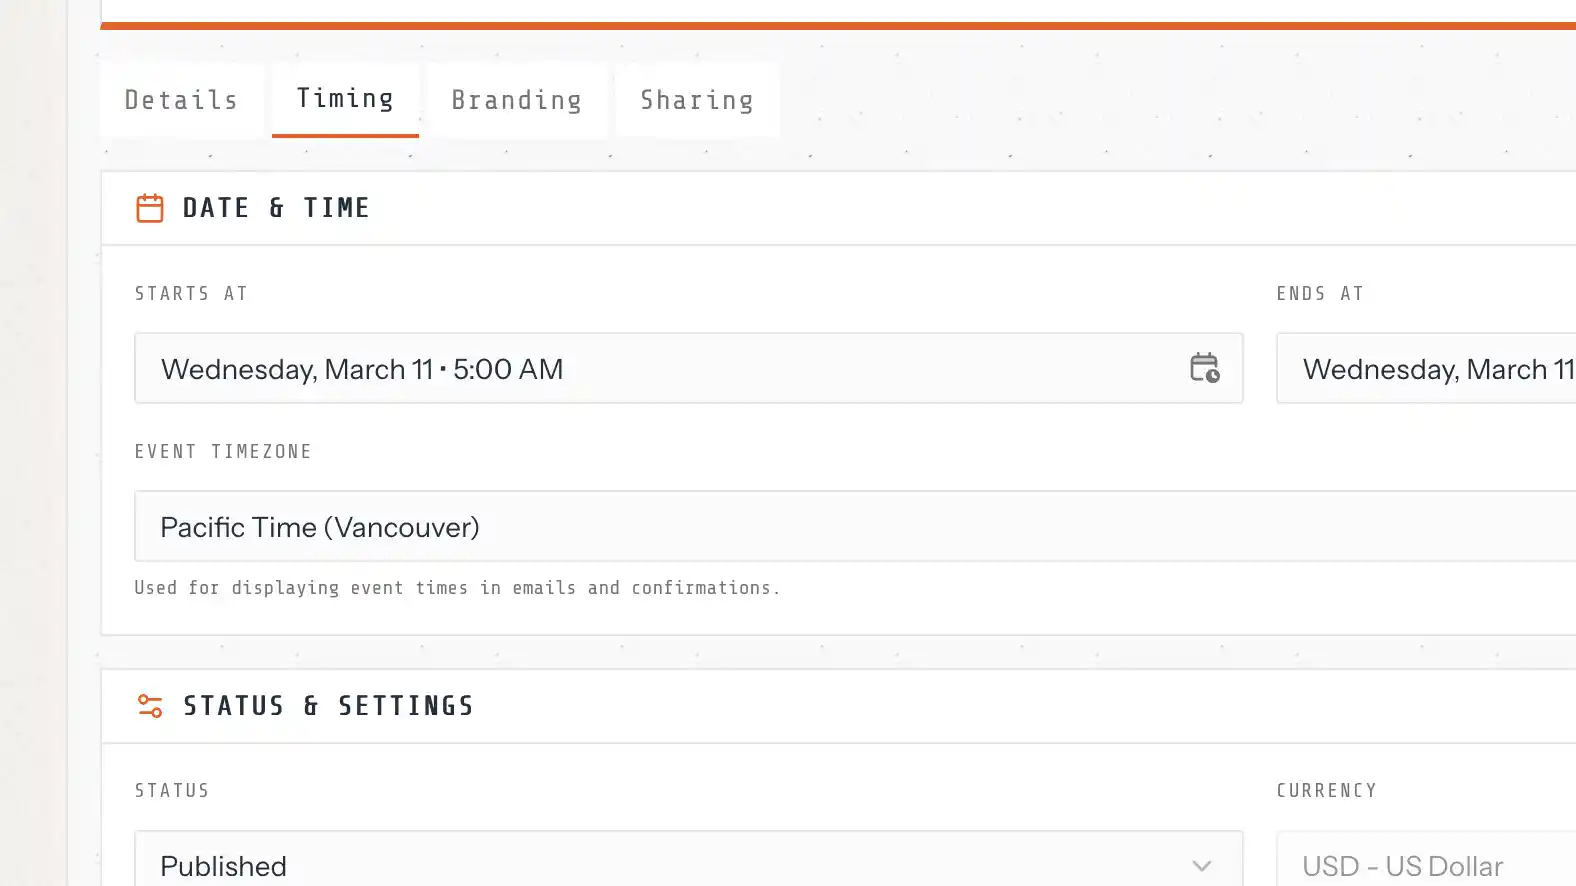
Timing & capacity tab
Choose your start and end dates, select the timezone, and keep daylight savings in mind if your audience spans regions. Set the event status (Draft or Published), confirm the currency, toggle speaker applications, and define total capacity to keep things manageable.
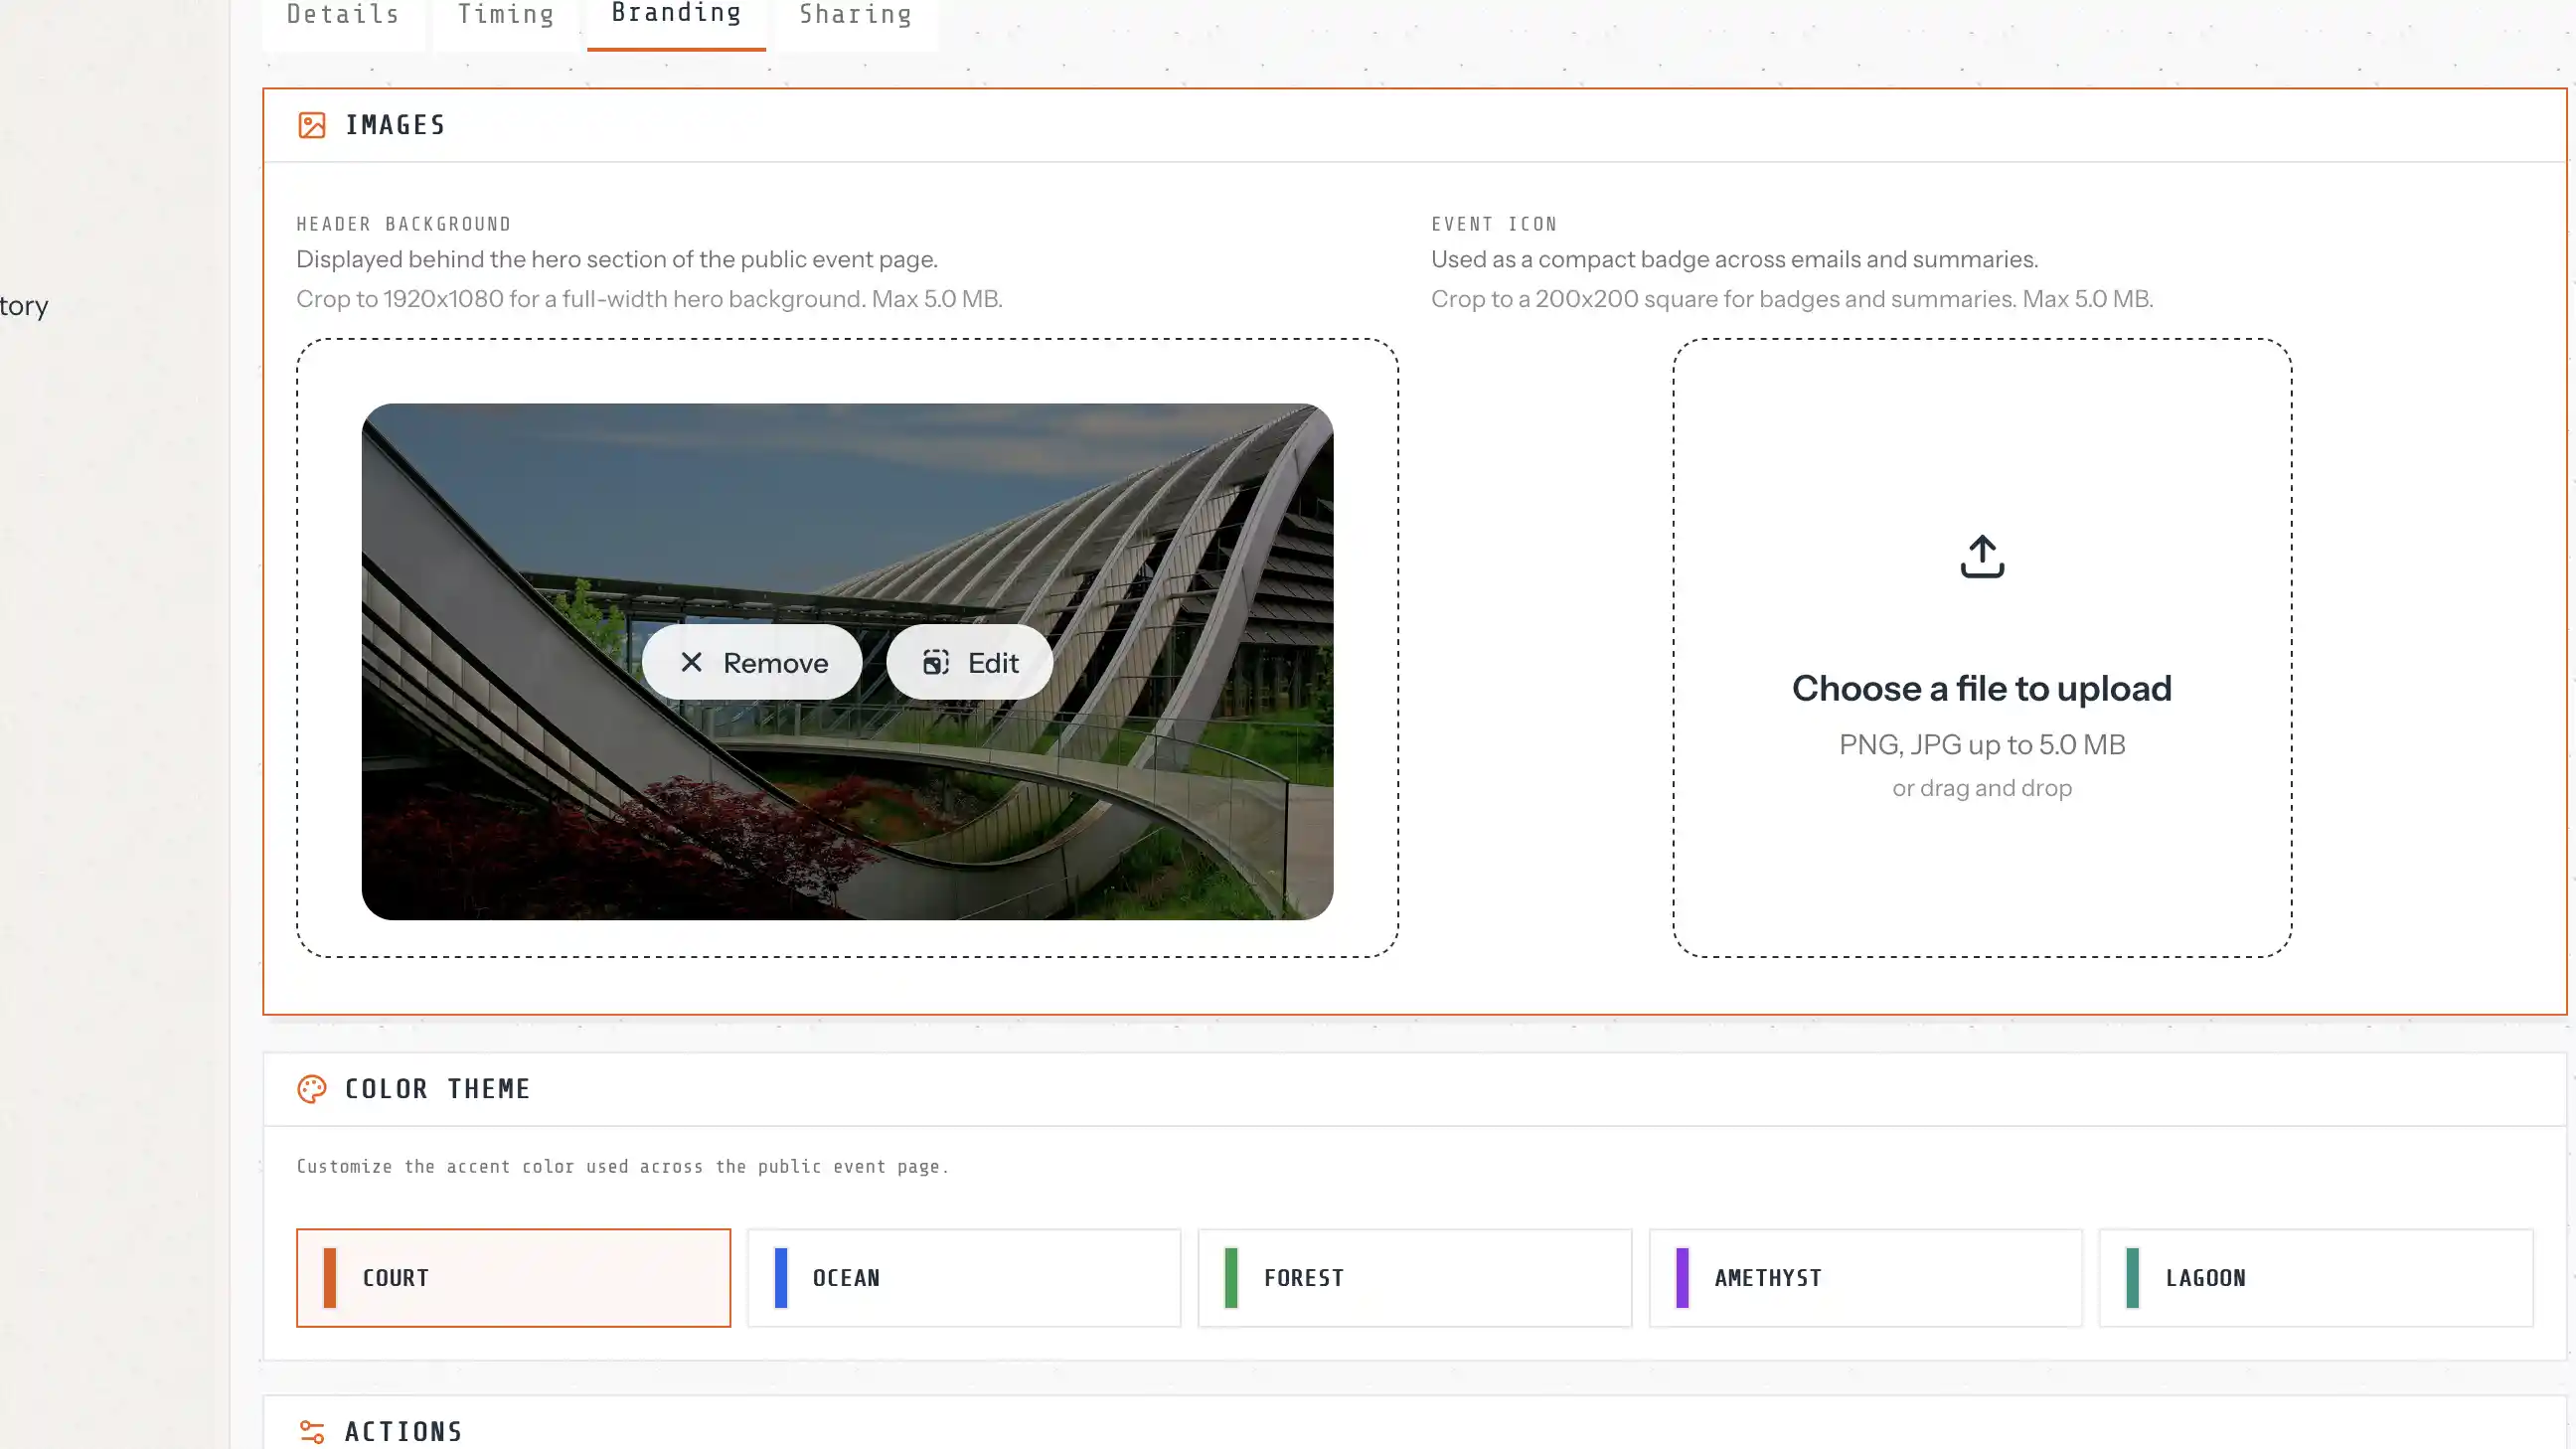
Branding tab
Upload a 16:9 header background and a square 200×200 event icon. Pick a color theme to make the event feel like your brand. You can tweak these visuals anytime.
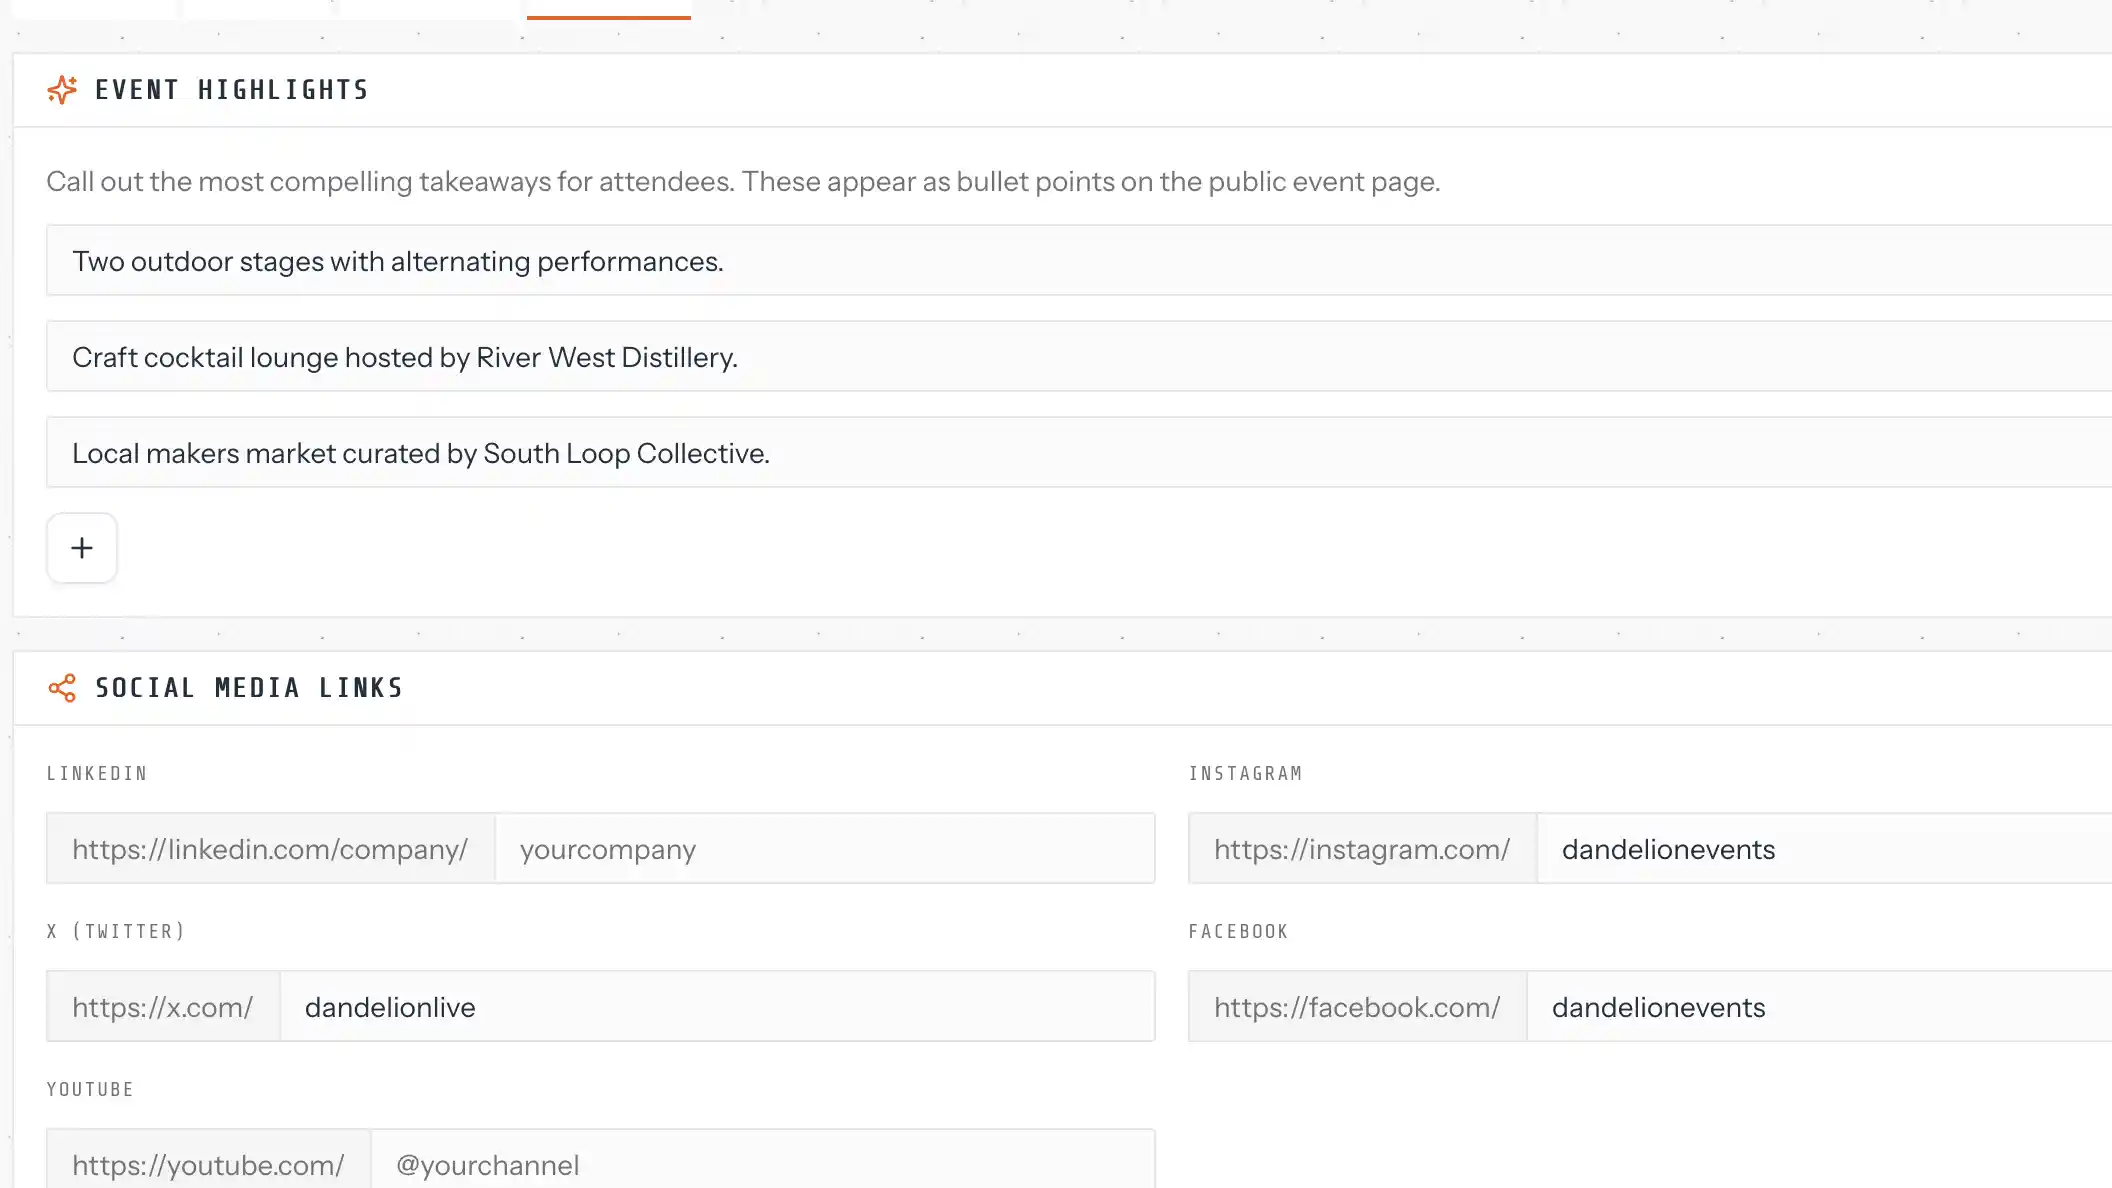
Highlights & sharing tab
Add a short list of event highlights to spark excitement. Share social media links and include your privacy policy and terms of service URLs so everything feels trustworthy and transparent.
Publishing
Keep your event in Draft while you build. When everything looks ready, switch to Published and your event page goes live instantly. You can switch back to Draft if you need a pause.